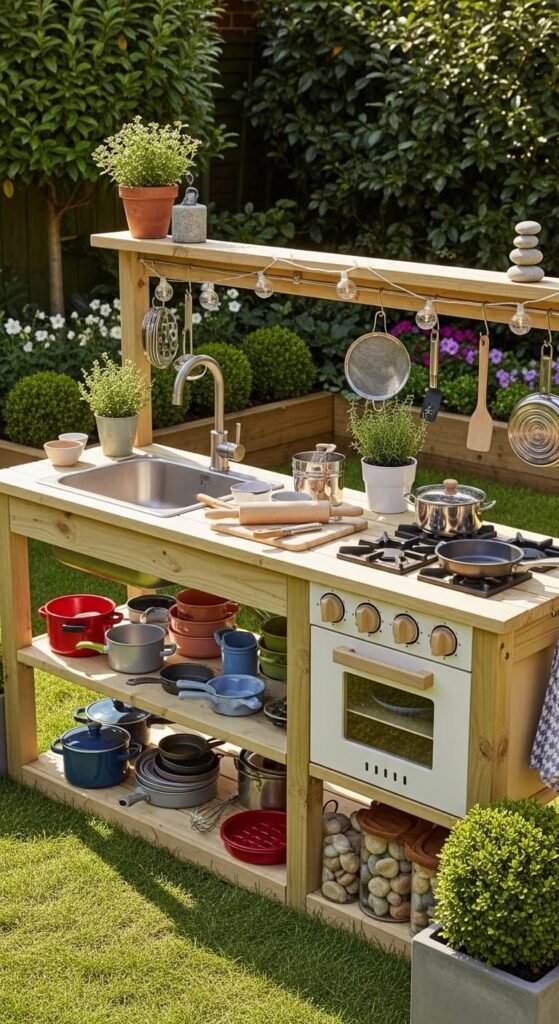
16 DIY Mud Kitchen Instructions: Easy Step-by-Step Guide
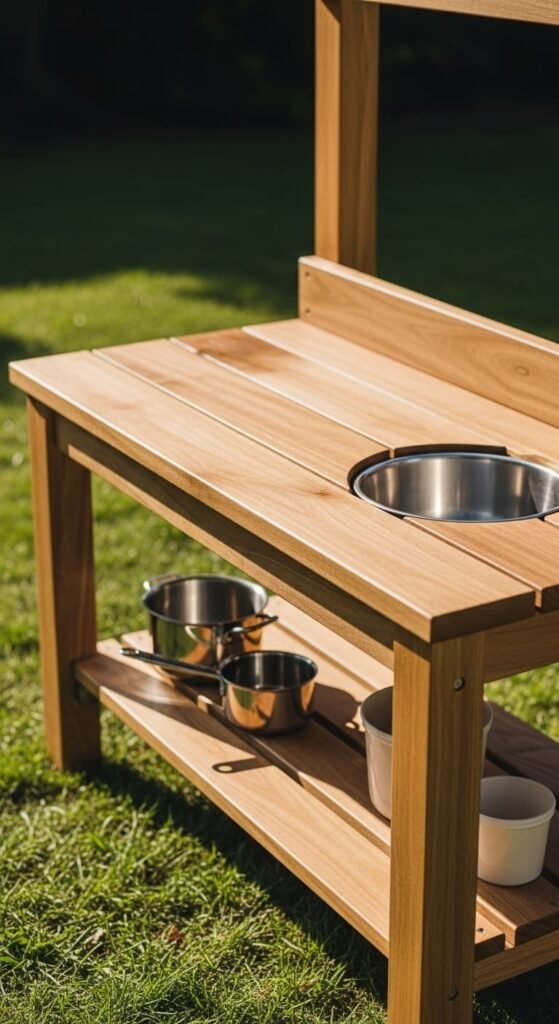
1. Basic Wooden Frame Mud Kitchen
Start by building a simple rectangular frame using wooden boards and screws. Attach a flat countertop and add a lower shelf for storage. Cut a hole in the top to insert a bowl as a sink. Sand edges for safety and seal the wood for outdoor use. This plan is simple, sturdy, and beginner-friendly.
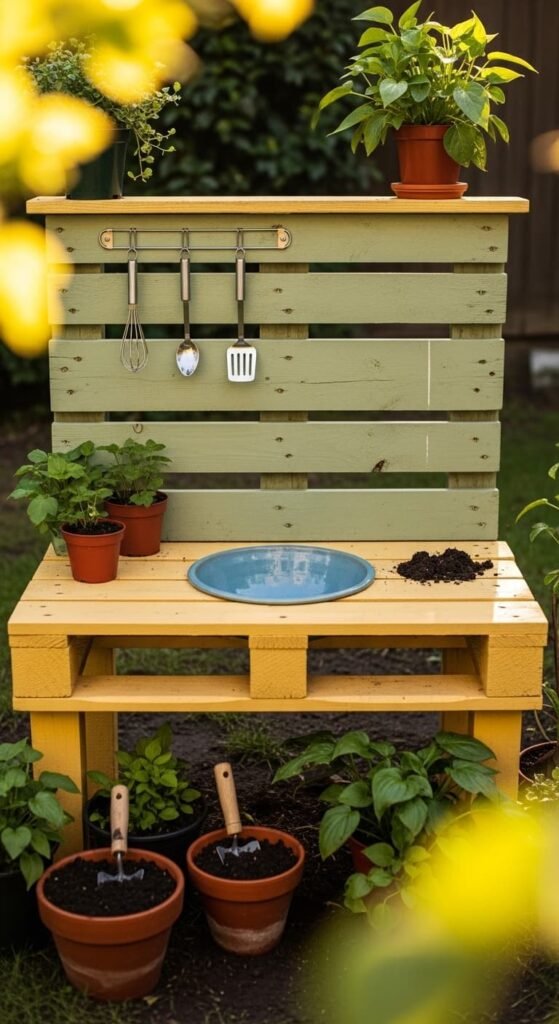
2. Pallet Backboard Mud Kitchen
Use one pallet upright as a backboard and another cut pallet as the base. Secure them together with screws, then attach a countertop and hooks for utensils. Add a bowl sink and paint for weather protection. This recycled design is affordable and quick to build while offering vertical storage space.
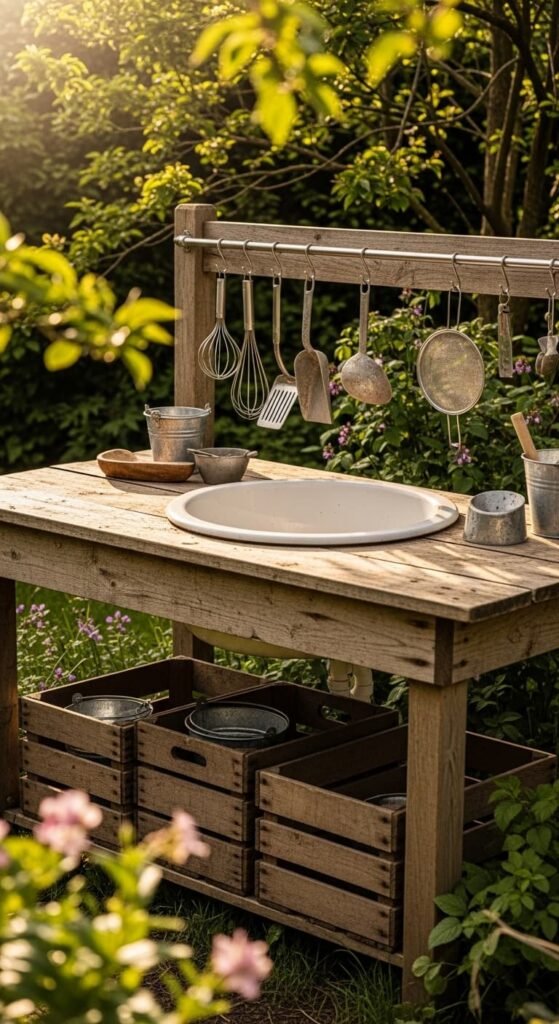
3. Recycled Table Mud Kitchen
Repurpose an old wooden table by cutting a hole in the surface for a sink bowl. Add shelves or crates underneath for storage. Attach hooks or a small board at the back for hanging tools. This method reduces building time and uses existing furniture creatively.
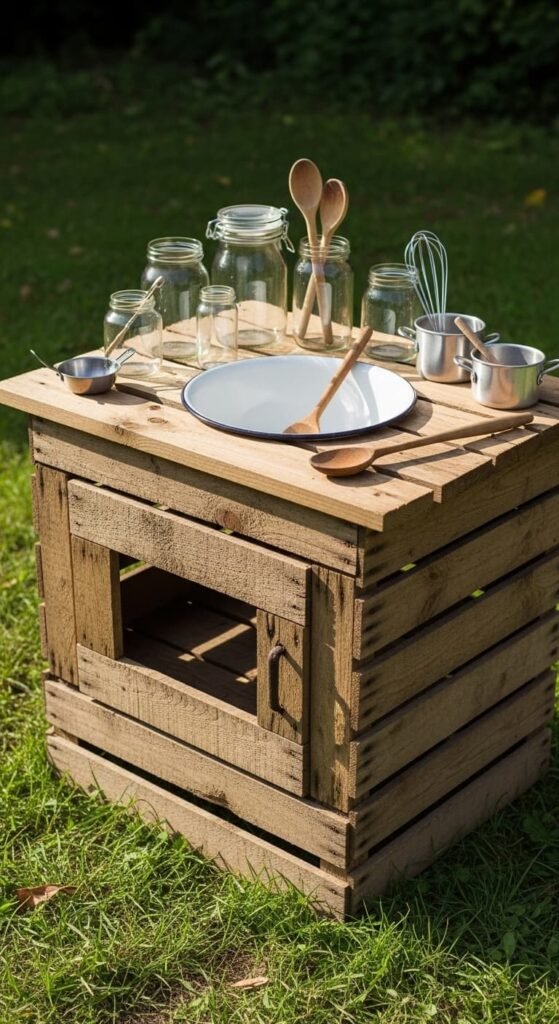
4. Simple Crate Mud Kitchen
Stack wooden crates to form the base and attach a plank on top as a work surface. Insert a bowl for a sink and leave open spaces for storage. This no-complex-build design is perfect for quick setups and requires minimal tools while still offering creative play space.
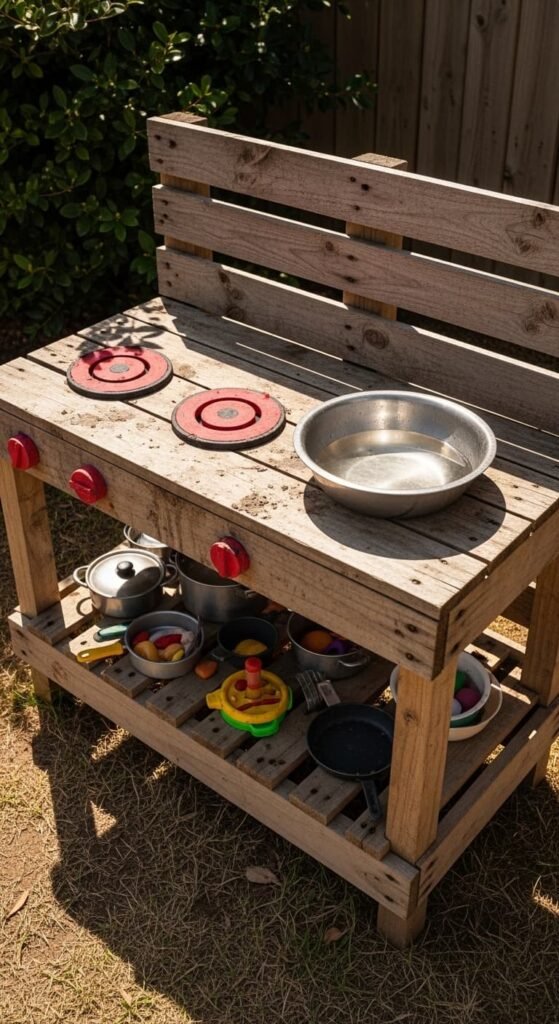
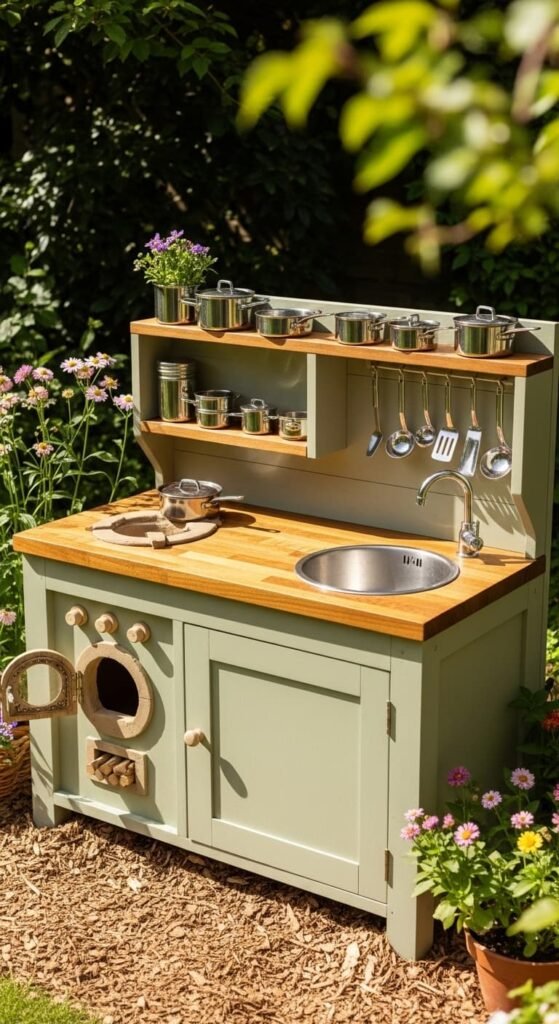
5. Two-Level Mud Kitchen Build
Construct a two-tier structure with a top cooking surface and a lower shelf for storage. Use wooden planks and secure them with screws. Add a sink and paint burner circles on the top. This layered design increases functionality and organization for kids.
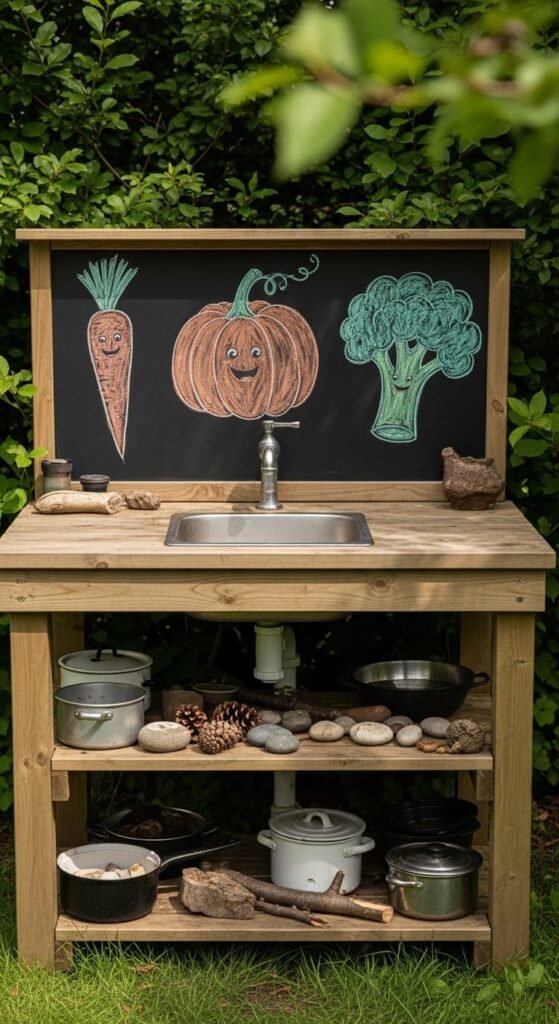
6. Mud Kitchen with Chalkboard Panel
Attach a wooden board at the back and paint it with chalkboard paint. Build a basic countertop and sink area below. Add hooks and shelves for storage. Kids can write menus and recipes, making the kitchen interactive and educational.
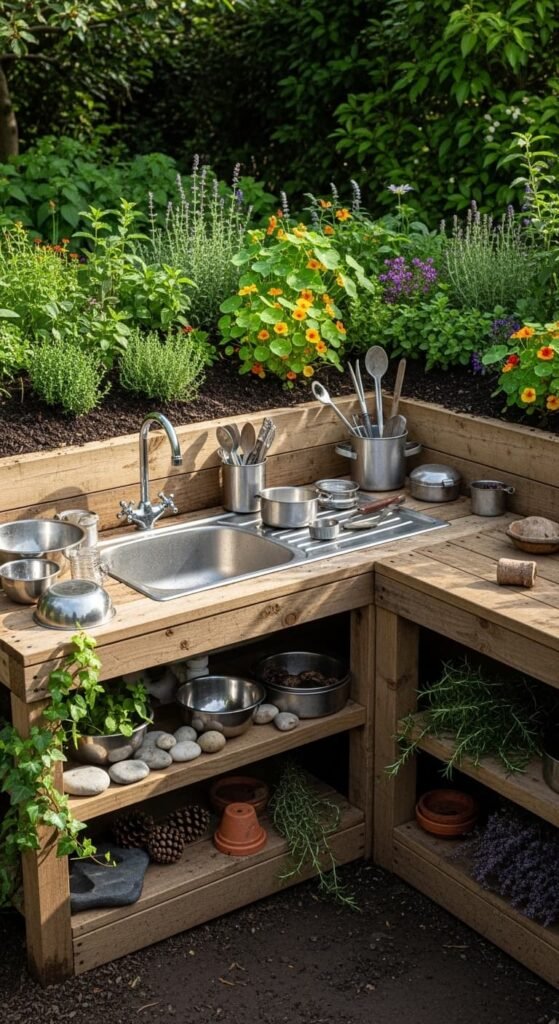
7. Corner Mud Kitchen Plan
Build two connected wooden sections to form an L-shaped kitchen. Secure frames at right angles and add countertops and shelves. This layout maximizes corner space while providing more working area for multiple children.
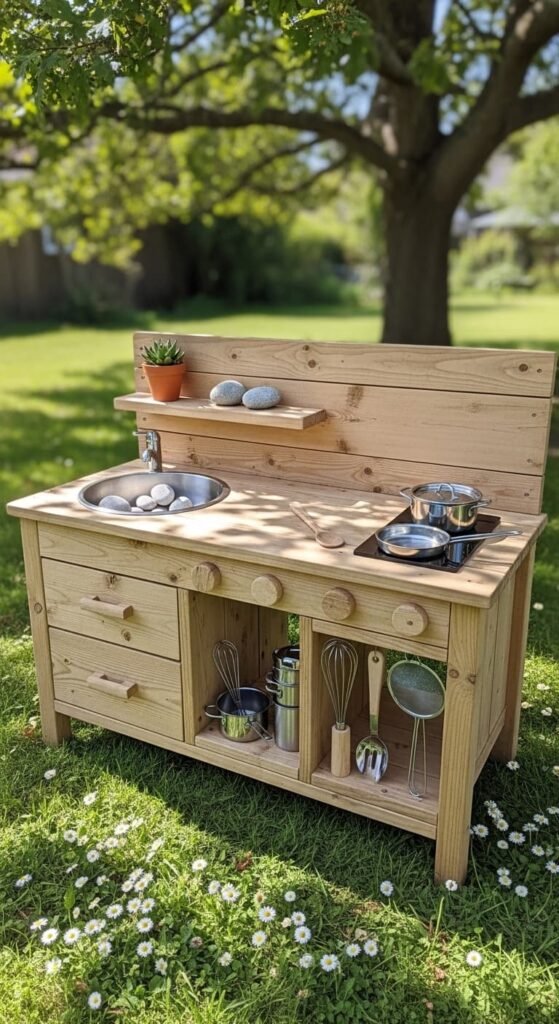
8. Mud Kitchen with Storage Drawers
Incorporate drawers or recycled cabinet parts into the base. Build the frame first, then install drawers underneath the countertop. Add a sink and hooks. This design helps organize utensils and keeps the play area tidy.
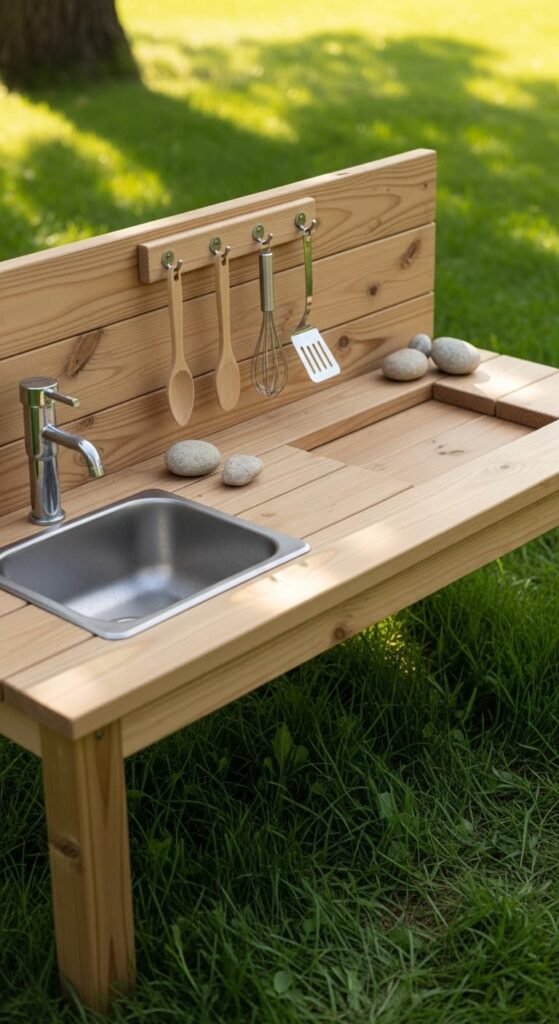
9. Bench Style Mud Kitchen
Create a bench-like structure using a flat wooden board supported by sturdy legs. Add a small backsplash and hooks. Include a sink bowl and minimal shelving. This simple design is quick to build and ideal for beginners.
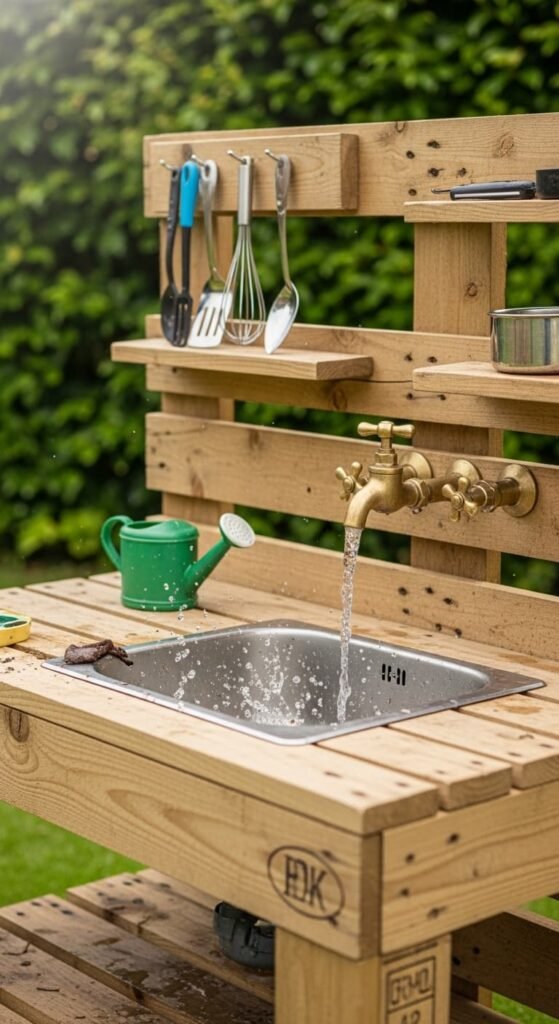
10. Mud Kitchen with Real Water Feature
Install a water container or hose above the sink to create a working tap. Build a sturdy frame with a sink cutout and drainage. This feature adds realism and enhances interactive play for kids.
11. Painted Colorful Mud Kitchen
After building the structure, paint it with bright outdoor-safe colors. Add decorative knobs and patterns. Painting protects the wood while making the kitchen more engaging for children.
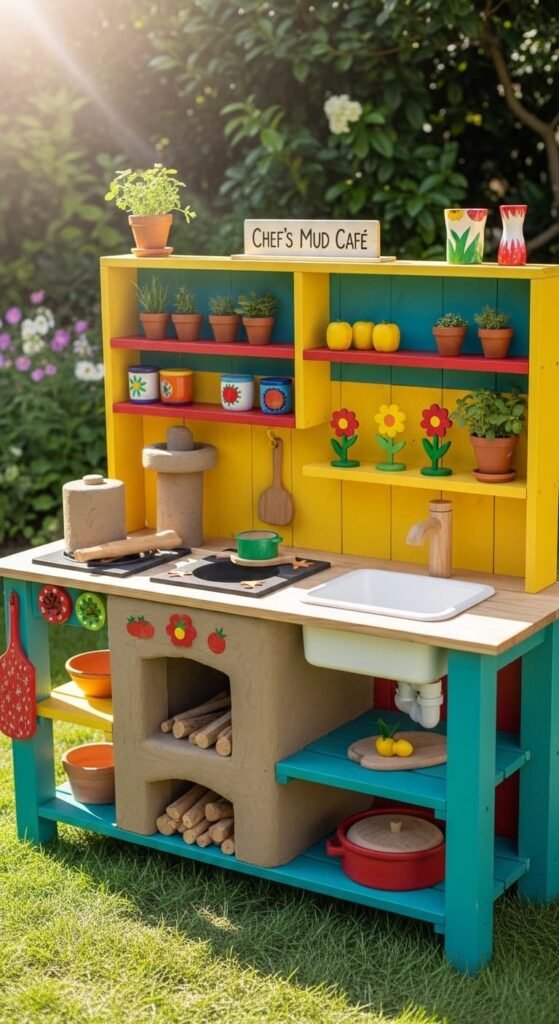
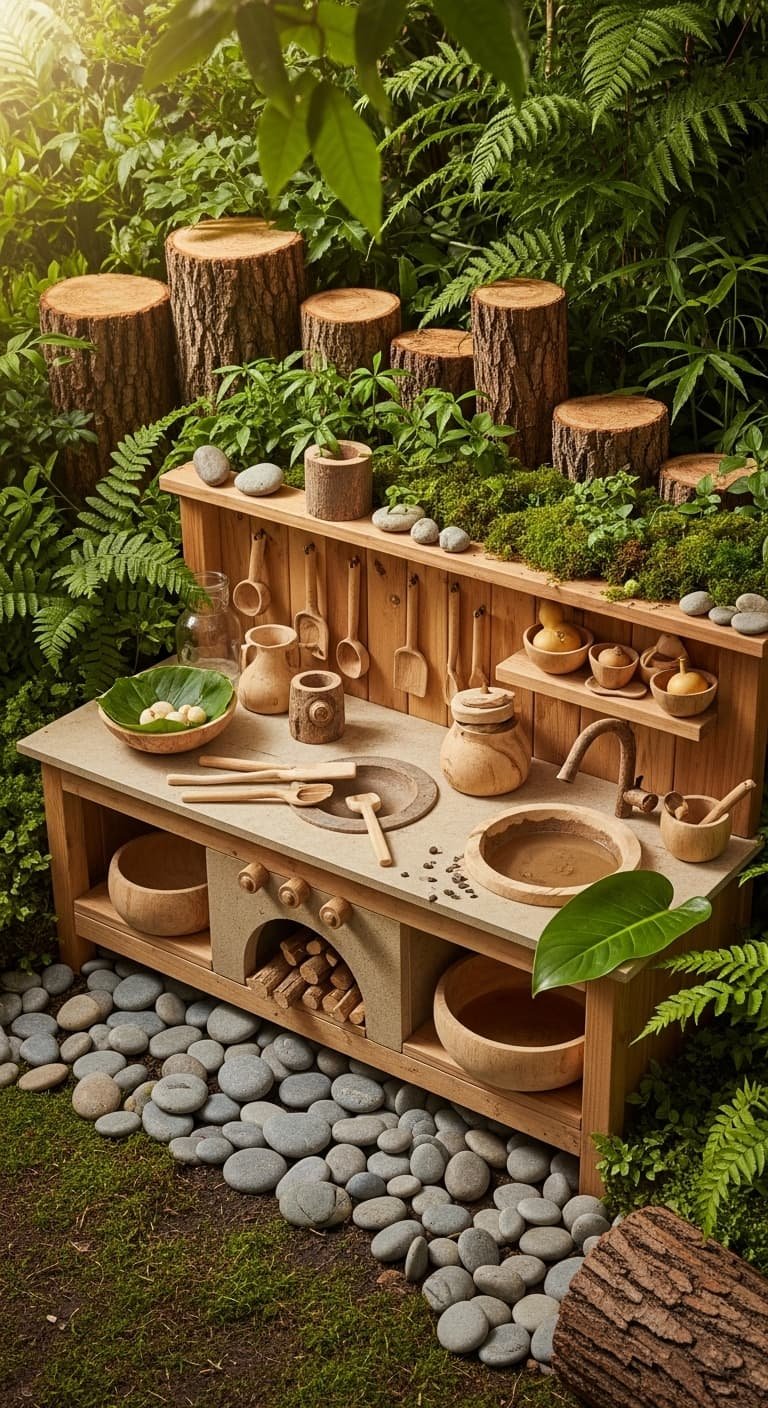
12. Nature Play Mud Kitchen
Design the kitchen using natural materials like logs, stones, and wood. Add a simple sink and open workspace. Surround the area with plants and natural elements to encourage outdoor exploration and creativity.

13. Multi-Station Mud Kitchen Build
Divide the kitchen into sections such as prep, cooking, and washing areas. Build separate surfaces using wooden boards. Add sinks, shelves, and hooks for each station. This design allows multiple kids to play together easily

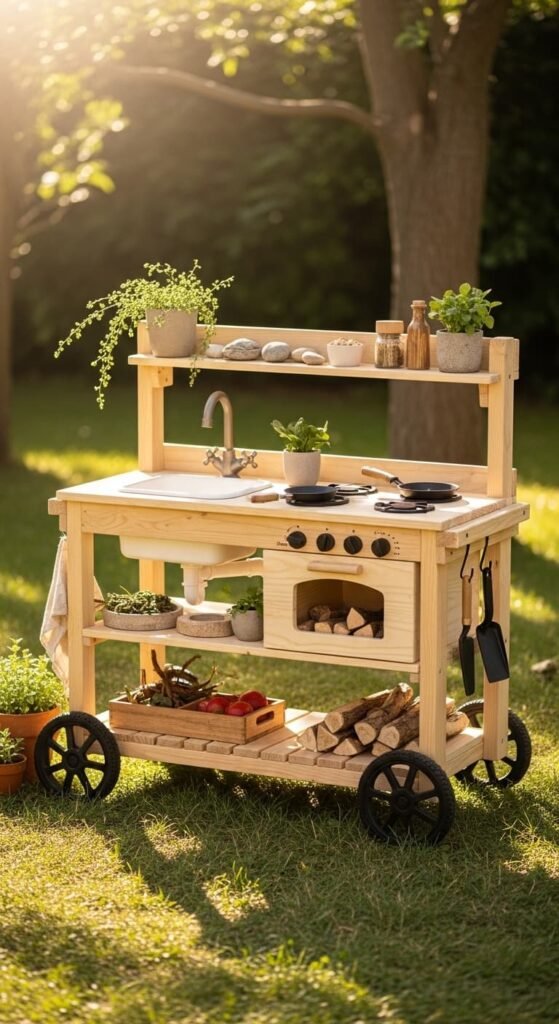
14. Portable Mud Kitchen Cart
Attach wheels to the base of the mud kitchen frame. Build a compact structure with a countertop, sink, and storage. This mobile design allows easy movement and storage when not in use.
15. Upcycled Cabinet Mud Kitchen
Use an old cabinet as the base and add a wooden top with a sink cutout. Attach a backsplash and hooks. This design saves time and provides built-in storage while reducing waste.
16. Deluxe Full-Feature Mud Kitchen
Build a large mud kitchen with multiple features like shelves, hooks, sink, stove markings, and storage. Use strong wood and seal it for durability. This complete setup offers a realistic and engaging play experience for kids.